Adding a Kaltura or other video assessment submission
| Site: | College of the Rockies - Online |
| Course: | COTROnline Student Help Manual |
| Book: | Adding a Kaltura or other video assessment submission |
| Printed by: | Guest user , |
| Date: | Wednesday, 8 May 2024, 7:08 PM |
Description
IMPORTANT: Adding Kaltura files - if you get bumped out of COTROnline when uploading a video file to Kaltura, try a different browser.
Using Kaltura to upload a video or audio file
PRIVACY NOTE:
- Kaltura is a private video/audio server similar to YouTube
- Videos and audio files uploaded to this server will only be accessible to specific people.
- If you use the Kaltura Assignment to upload a video or audio file, then only your instructor will have access to that media.
- If you upload a video or audio file to a Discussion Forum, then your instructor and classmates will have access to that media.
FILE SIZE INSTRUCTIONS:
- Using the highest quality makes HUGE files, slow upload/download, and doesn't improve the end users viewing significantly.
- Set your video quality at medium-low, about 30%
- 1280x720 maximum (720HD or 720SD)
Troubleshooting size:
- Try not to upload over 10mins of video. If necessary, split your video into two parts and upload separately.
- Use a video converter and compressor to create MP4s and reduce your file size. A list of possible options, including VLC, FFmpeg, and Handbrake, is available here: https://www.movavi.com/learning-portal/top-free-video-compressors.html
- Use a social networking service such as Messenger or WhatsApp to share your video with yourself (open an empty chat to yourself). These services convert and auto-compress video files for sharing. You can then download the compressed file to your computer.
- Open your MyMedia Gallery from the main menu in COTROnline:

- Click the Add New button and select Media Upload from the drop-down menu:
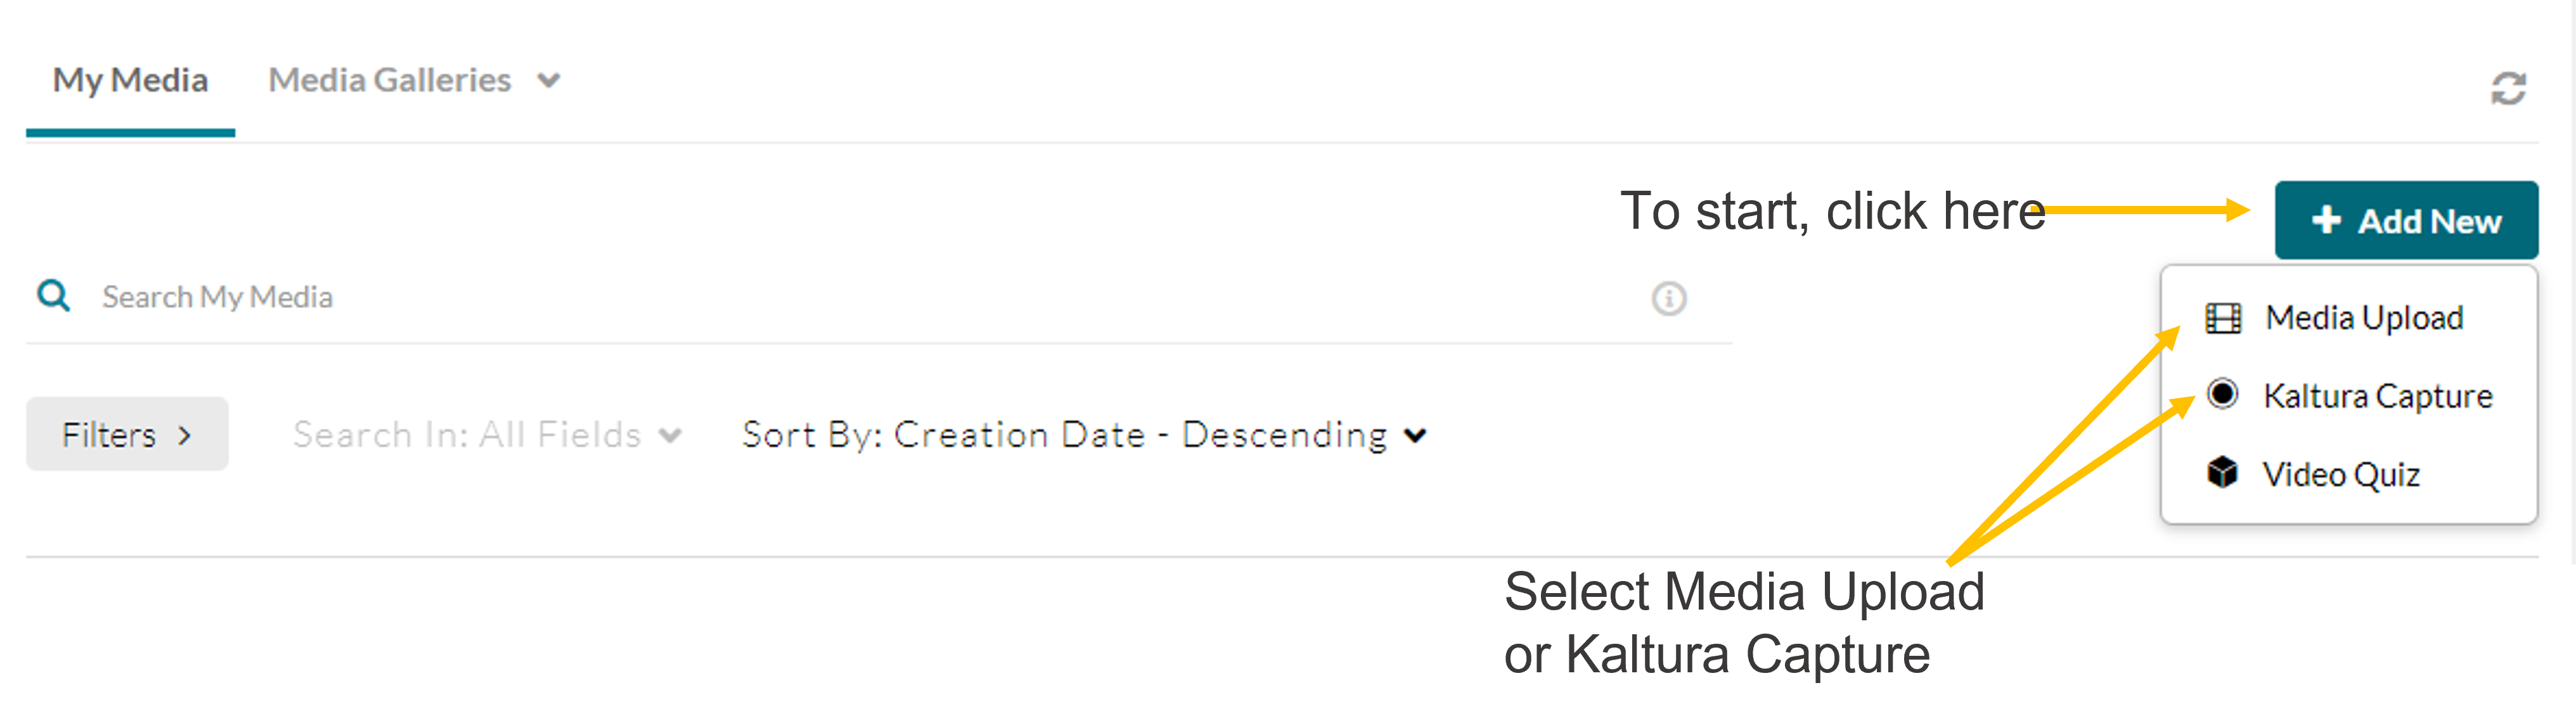
- Click the Choose a File to Upload button or drag and drop your media from its file location. Keep in mind, your file must be under 2 GB. For a list of acceptable file formats, check here
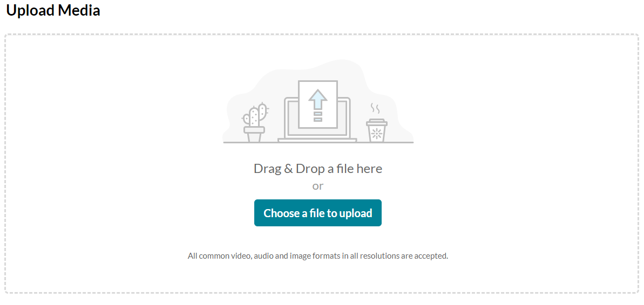
- Drag and drop items will automatically start the upload process. Using the upload button requires selecting Open to begin the upload process.
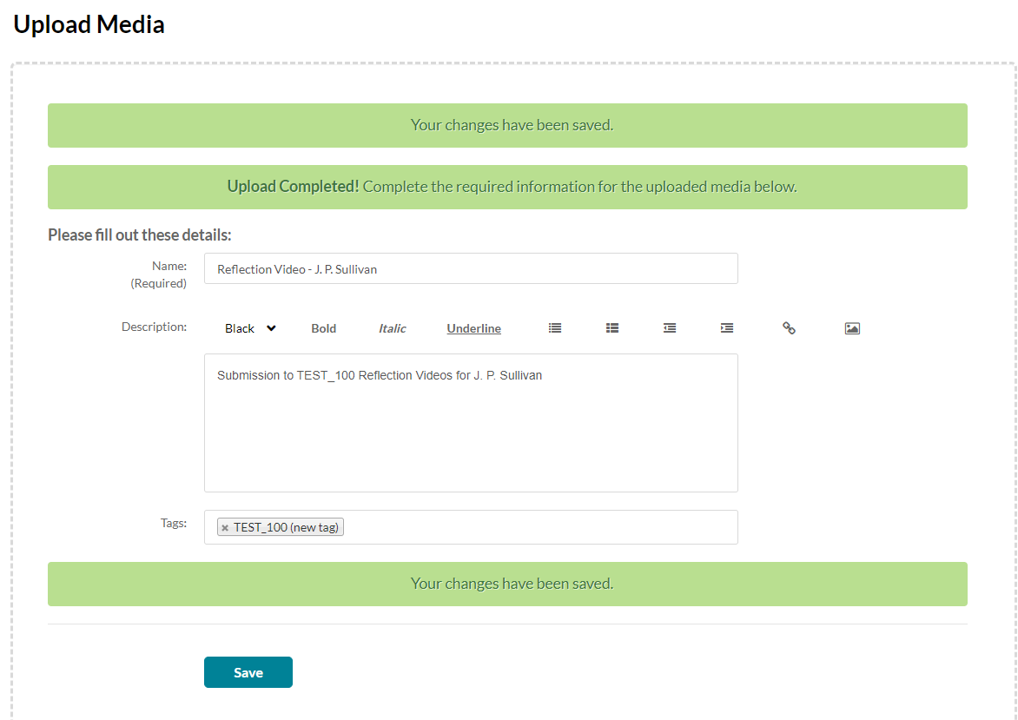
- The Upload Media window will display a progress bar and ask for some details to identify your video/audio file; please make sure you fill in this form with the information identified as being required.
**Your instructor may request specific details such as naming conventions. Make sure to read all the assignment requirements when submitting! - Once the upload is completed and you have filled in and saved the form content, you will see two green bars across the top of the page with the words "Your changes have been saved" and "Upload Completed!."
- Select Save to continue to submission
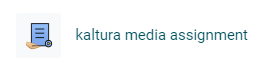
- To begin, find your assignment, it will have an icon that looks like this:
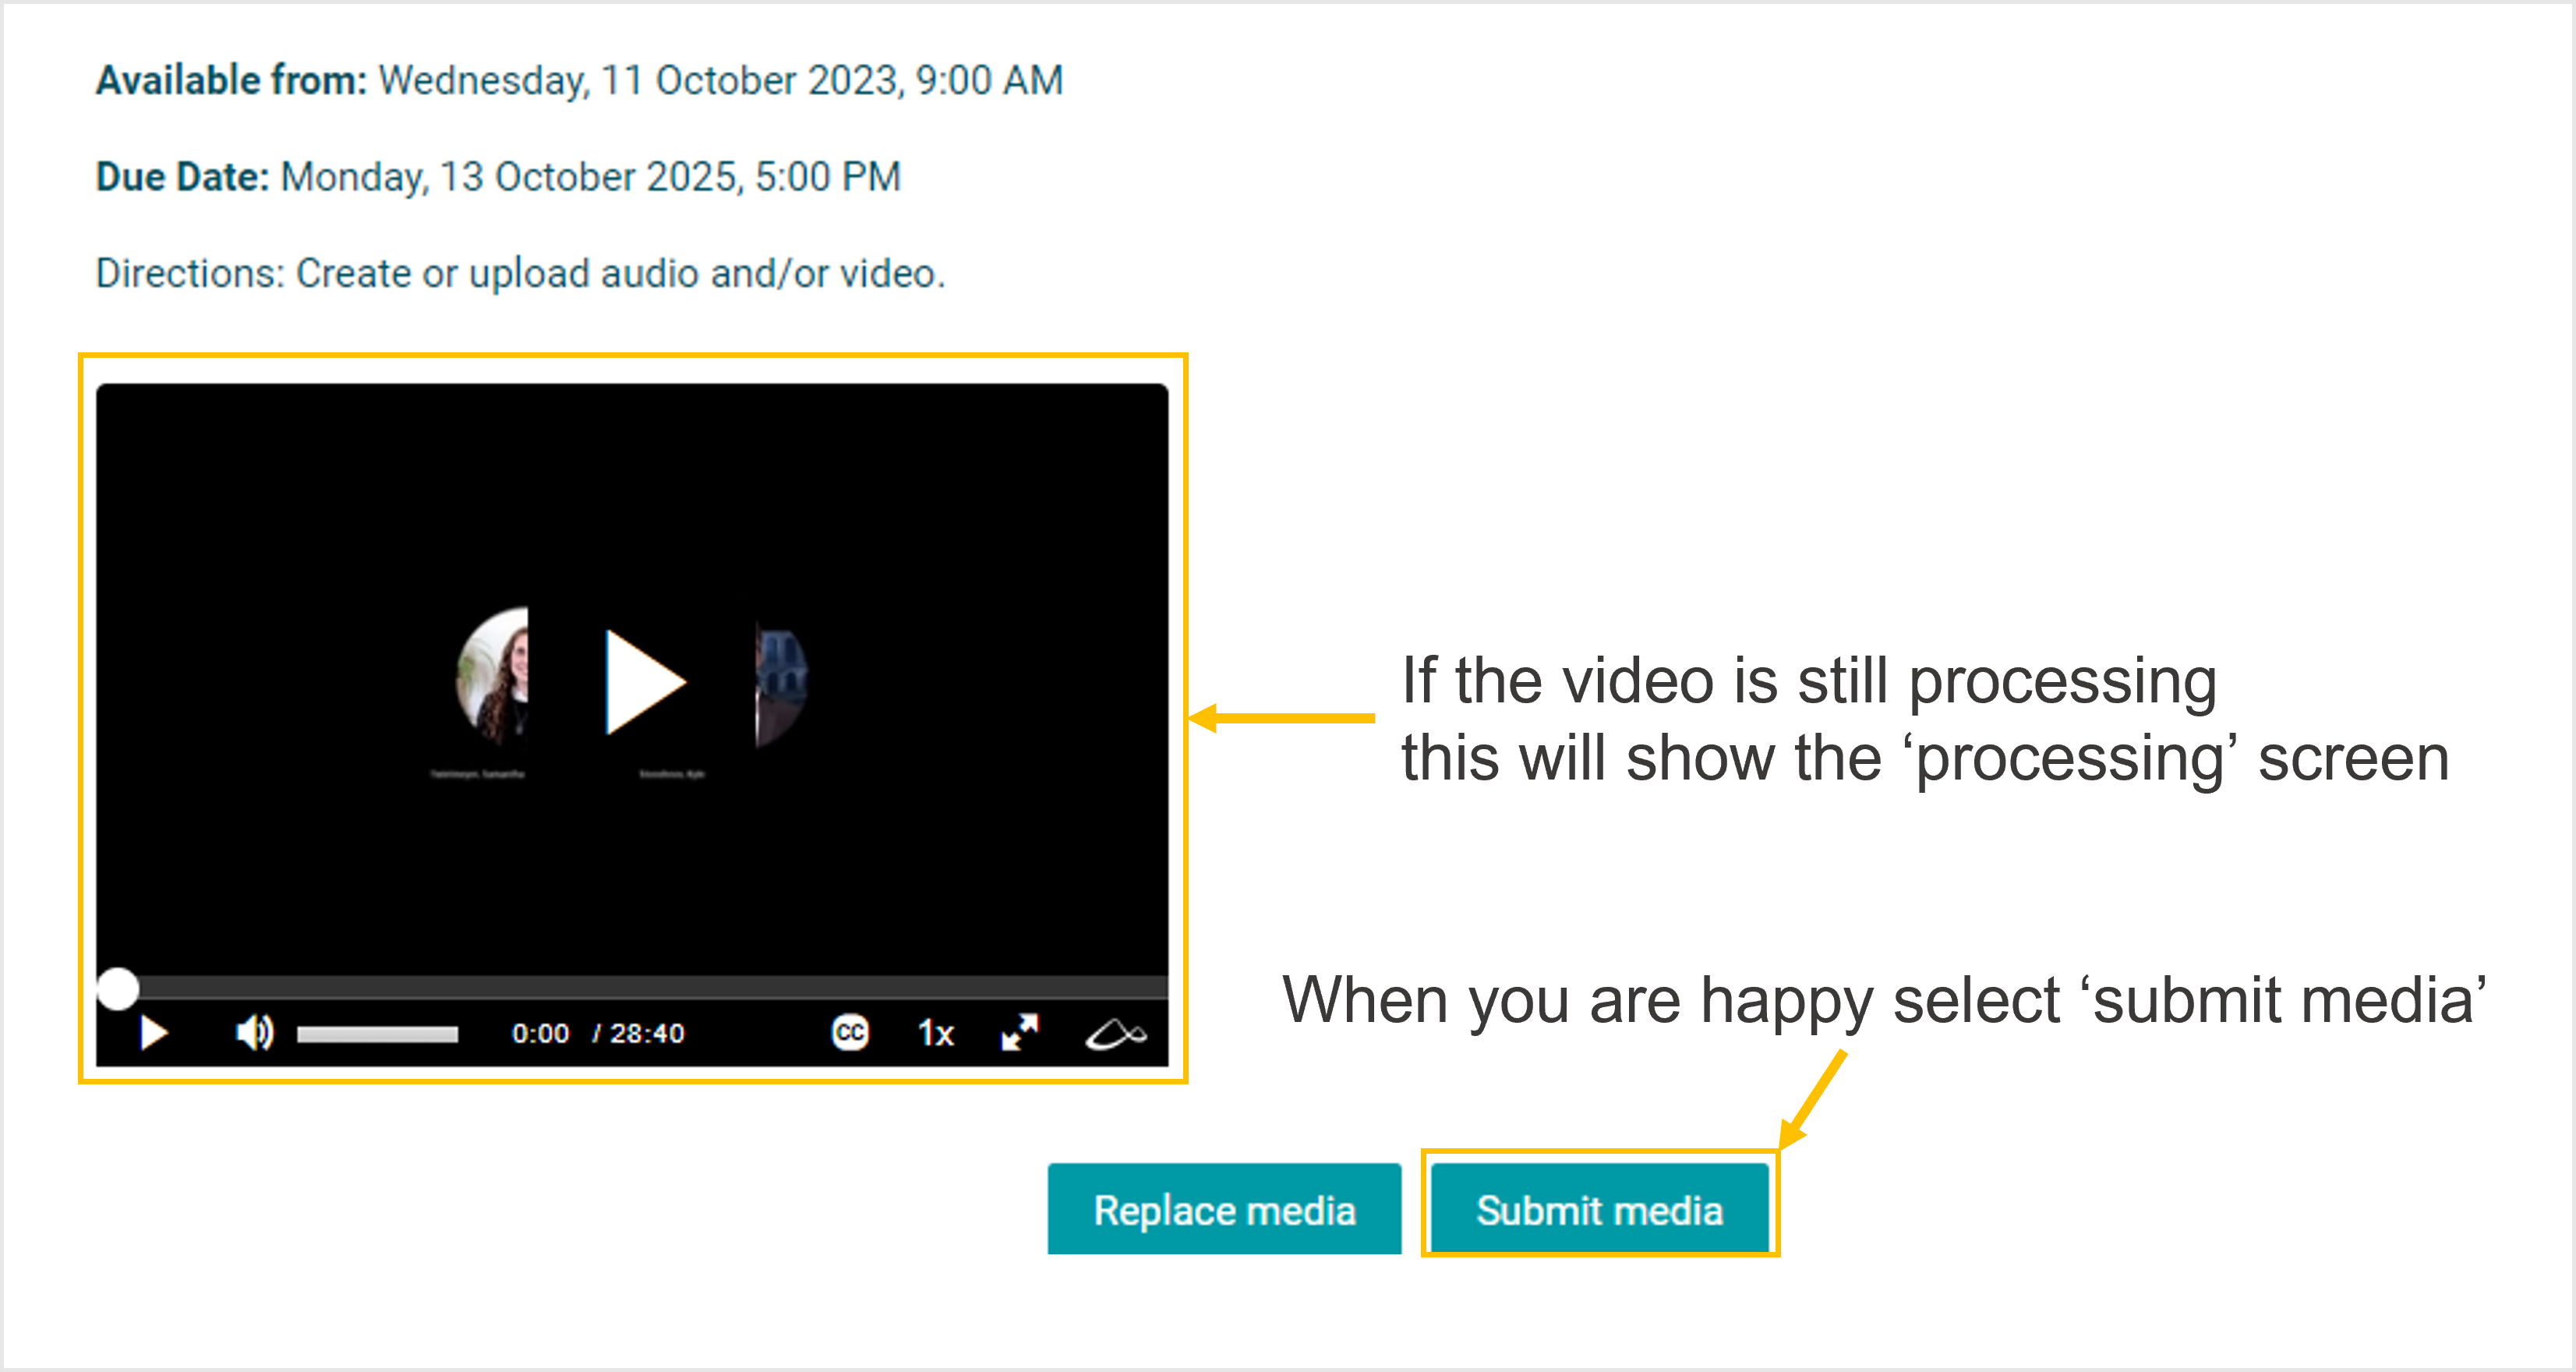
- The assignment will have dates indicating when it is available for you to submit your video/audio file and directions for completing the assignment (see image below).
- Read the directions carefully
- Create your video/audio file using a digital camera, smartphone, digital recorder, webcam, etc. and save your file somewhere where you can retrieve it - computer or USB stick are best.
- Open up the assignment link in your course website and click the Add Media Submission button.

Note: This will take you to your My Media Gallery (opens in a new window). If the internet browser (Internet Explorer/Edge, FireFox, Chrome, Safari, etc.) you are using blocks this pop-up page, try an alternate browser.
- After saving you will be returned to the MyMedia Gallery window and your video/audio file should be at the top of the list; if it is not, use the Search My Media to locate the file.
- Click the Select button to upload the video/audio into your assignment

- Your video/audio will display on the page so you can review and replace if you need a different media submission.
Note: if your video is still processing, it will display a processing screen instead of the video itself. - Click the Submit Media button to finish your assignment submission.
If you encounter any problems or need help with this process, please contact the COTROnline Help Desk:
-
- cotronline@cotr.bc.ca
- 250-489-2751 local 3737
- 1-877-489-2687 local 3737 Toll Free North America

This work is licensed under a Creative Commons Attribution 4.0 International License.
Kaltura Video File Formats
The following Table displays the preferred file formats for uploading to Kaltura.
| Video | Audio | Image |
| .3gp | .avi | .jpg |
| .arf | .flv | .jpeg |
| .asf | .mov | .gif |
| .avi | .mp3 | .png |
| .flv, .f4v | .mpg | |
| .m4v | .wav | |
| .mov | .wma | |
| .mp4 | .wmv | |
| .mpeg, .mpg | ||
| .ogg | ||
| .rm | ||
| .swf | ||
| .wmv |
Accessibility and Video File Formatting
From within your Media Gallery you can make many changes to your uploaded video content, but you can also ensure your content is accessible and effective before uploading. Here are some tips and tricks on using Kaltura to help with viewing your media assessments.
1. Access My Media Gallery
You can open your media gallery - containing every video you've uploaded to any course - by selecting the "My Media Gallery" link in your main COTROnline Menu.

2. Alter the default thumbnail
You worked hard on the opening screen of your video - but the frozen clip is you making a really silly face!! Edit your thumbnail by capturing your preferred screenshot or uploading your own saved image file.
- Select the 'edit' pencil beside the video you want to change the thumbnail for:
or - from within the video window - select the "ACTIONS" dropdown and then 'edit':
- Select "Thumbnails" from the options menu

- Capture
 the thumbnail by selecting a shot from the video itself
OR Upload an image file from your computer.
 - This automatically saves the selected image as the new Thumbnail Image.
3. Caption and Enrich
Using the Actions Dropdown from your My Media Gallery page, you can use Kaltura to automatically create and add closed captions to your uploaded media.
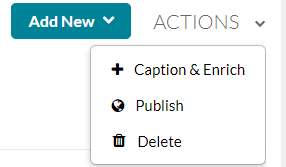
- Select the checkbox
 beside the video you want to caption.
 - Select the "ACTIONS" dropdown and then "Caption and Enrich"
- Select "Submit" and this will start processing the captions. Please note, these take some time to process and will not appear on the video right away.
You can then edit your captions for clarity using the "Edit" function in the video settings.
- Open the "Edit" window as instructed above and select the "Captions" option

- Select "Edit Captions" to make changes to the caption text.
4. Work with a group
Under the "Edit" function you can add "Collaboration" settings, allowing fellow students access to edit your video and publish it independently.
5. Create chapters and highlight content using the timeline
Help viewers jump to specific content by adding timeline chapters.
