Moodle messages is the central messaging system across COTROnline, connecting all active users including students and instructors. 

Students! Remember to confirm your instructor's contact preferences as they may not check their messages. Your instructor's contact preferences should be detailed in your Syllabus and posted on your Course Homepage.

The simplest way to open your Messages is to click on the Messages icon at the top of any COTROnline site page. 

messages.png

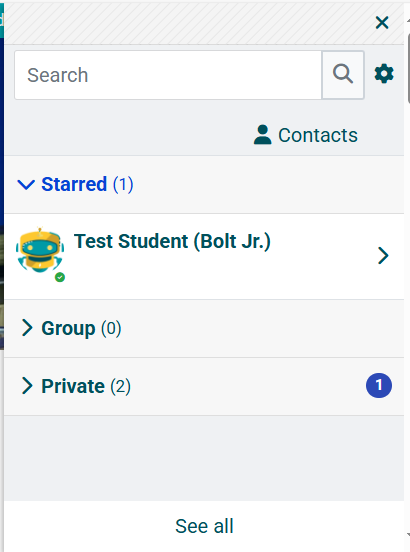
This will open a side-bar panel with your messaging system on the right hand side of the screen. 

You can also open a full-screen view of the Messaging system in two ways: 

  1. Once your side-bar is open, select "See All" at the bottom of the panel.
    see-all.png
  2. Select View Messages from the main menu Messages dropdown
    messages-dropdown.png

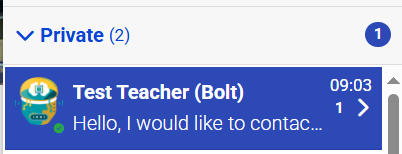
The Messages side-panel will display the following information (top to bottom): 

  • A messages search bar and settings menu link
  • A link to your existing list of contacts
  • A starred messages section - this will contain your personal messaging space by default
  • A section for any Group messages - these are defined by in-course groups created by instructors
  • A Private messages section - this is where the bulk of your individual messaging will be
  • A "See all" link to the main Messages page view
messages-layout.png

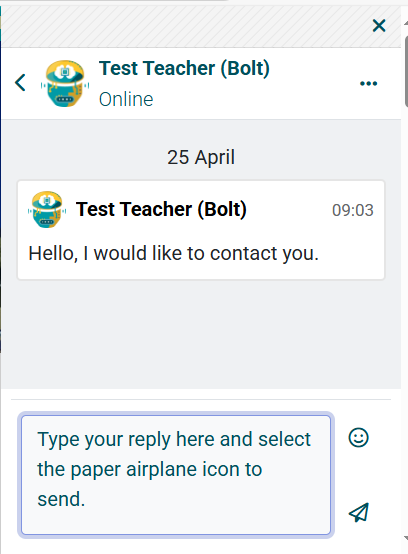
Open any message to read and reply: 

  • Select the message you wish to respond to
    message-response.png
  • This will open the message portal where you can type your reply
  • Type your response in the text box at the bottom and select the airplane icon to send your reply. See the section on advanced messaging for information on adding extra details to your messages.
send-message.png
 

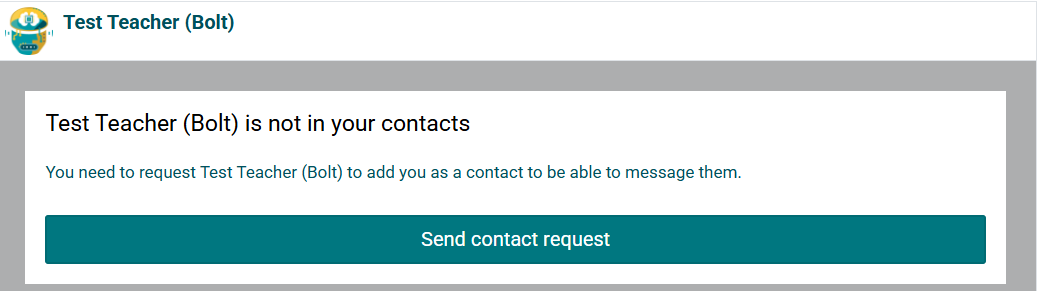
You may need to send a message to someone who you have never communicated with before. There are several approaches to sending other COTROnline users a message.

  1. Search for the user in the Messaging search bar
    • You need to type some component of their full name and press [ENTER] to activate the search function.
      contact-search.png

    • Note: Depending on the users profile preferences:
      • the user you are searching for may not appear
      • the user you are searching for may require you send a contact request before you can message them. If the use requires a contact request you will see this option appear: 
        contact-request.png
      • Confirm the request
      • Once the request is sent, you will see the following message at the top of the message space until your request is accepted. You may send messages to this chat but until the request is accepted you will not get a reply.
        request-confirm.png
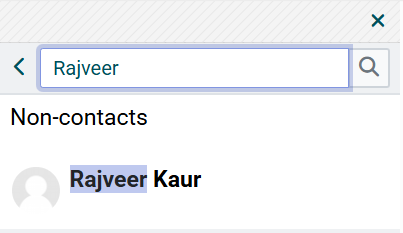
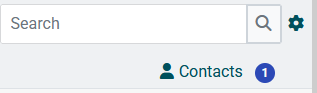
  2. Locate the user's profile in your course classlist or via the instructor's contact information. A quicklink to send the user a message or add them to contacts.
    profile-request.png

    • Instructors may open the profile of other Instructors or Students in the course.
    • Students may only open the profile of their course Instructors.

When you receive a contact request, you must accept it in order to message the user. 

  1. You will receive a notification to your messages: 
    messages-alert.png
  2. When you open the Message drawer or open All Messages, you will see a blue notification beside the "Contacts" link indicating you have received a request. The number represents the number of message requests.
    contacts-new.png

  3. Open your contacts and select Requests to review and accept your request.
    requests-icon.png

The Messages system is relatively limited in use-case, but with some HTML skills you can send more complex content via Messages. 

Here are a few shortcuts to add style and links to your messages in Moodle:

Style HTML Tags Result
Bold
Font in <strong>Bold</strong>
Font in Bold
Italics
Font in <em>Italics</em>
Font in Italics
Hyperlink
This is a <a href="https://example.url">Clickable Link</a>.
This is a Clickable Link.
New Paragraph and Line Break
<p>Paragraph content and <br>text appearing on a second line.</p>

Paragraph content and
text appearing on a second line.

Numbered List
<ol>
<li>Content of first list item.</li>
<li>Content of second list item.</li>
</ol>
  1. Content of first list item.
  2. Content of second list item.
Bullet List
<ul>
<li>Content of first list item.</li>
<li>Content of second list item.</li>
</ul>
  • Content of first list item.
  • Content of second list item.
Quotation
<blockquote>Quotation</blockquote>
Quotation
Horizontal line
Text before line <hr>Text below line
Text before line
Text below line

Last modified: Friday, 2 May 2025, 10:41 AM